On a long road trip, your best partner is a camera, as it helps you capture the beautiful and memorable moments you experience during the journey. However, you will need a camera bag to store your camera when it is not in use.
A carry-on bag may be impractical for the job—it takes up precious space and adds unnecessary weight. What you need is a practical bag which can convert from carrying your camera to holding your essentials while riding on a bicycle or motorcycle.
Unfortunately, there is no consensus about the perfect handlebar camera bag for people who love bike trips, and it might stay like this in the future. But there is nothing to worry about. Today, we will teach you how to convert your conventional camera bag into a perfect handlebar camera bag.
Features of a good handlebar bag
The bag must be able to fit into the standardized handlebar attachment brackets. You should consider whether it is possible to tighten or loosen the straps depending on how you ride your bike. Also, check if the bag has a quick-release mechanism for convenience when you are in a rush.
The position of the camera case inside the bag should be adjustable so that it can accommodate different types of cameras and other accessories. Finally, think about its durability—will it stand up to unexpected knocks?
What Makes a Perfect Handlebar Camera Bag?
Let's first define our criteria for a perfect handlebar DSLR bag. It is a bag that is pretty comfortable to carry on a bike and has ample space with the ability to bear harsh atmospheric conditions like rain, snow, and heat. DSLR bag manufacturers create different types of DSLR bags to suit the varying needs of people on trips. You can find laptop backpacks, waist bags, sling bags, pouches, and more.
To function well as a camera bag you need:
- A rain cover that prevents your valuables from getting wet when it is raining outside.
- An expandable compartment for your tripod so it won't take up most of the space in the main compartment.
- A waterproof design to ensure your important things stay safe even if it's snowing or raining outside. The camera lens opening should be big enough so you can quickly get access to your equipment without opening up all compartments in the.
- Comfortable straps which you can wear when riding on your bike.
- An integrated system to store all your camera gear like lenses, flash units, and other accessories that fit in the allocated spaces or attached to the outside of the bag for quick access.
- It should be lightweight so it won't add unnecessary weight to your bike trips.
Some people might argue that you can simply use the normal bag, but I'm afraid I can't agree with them with due respect. No doubt you can use normal camera bags, but they are not comfortable carrying on a bike for long trips due to their size, and secondly, you cannot reach the camera quickly when you want to take a quick shot.
With the handlebar camera bag, you can go on long tours and never miss a beautiful moment.
How to Turn a Camera Bag into Handlebar Bag
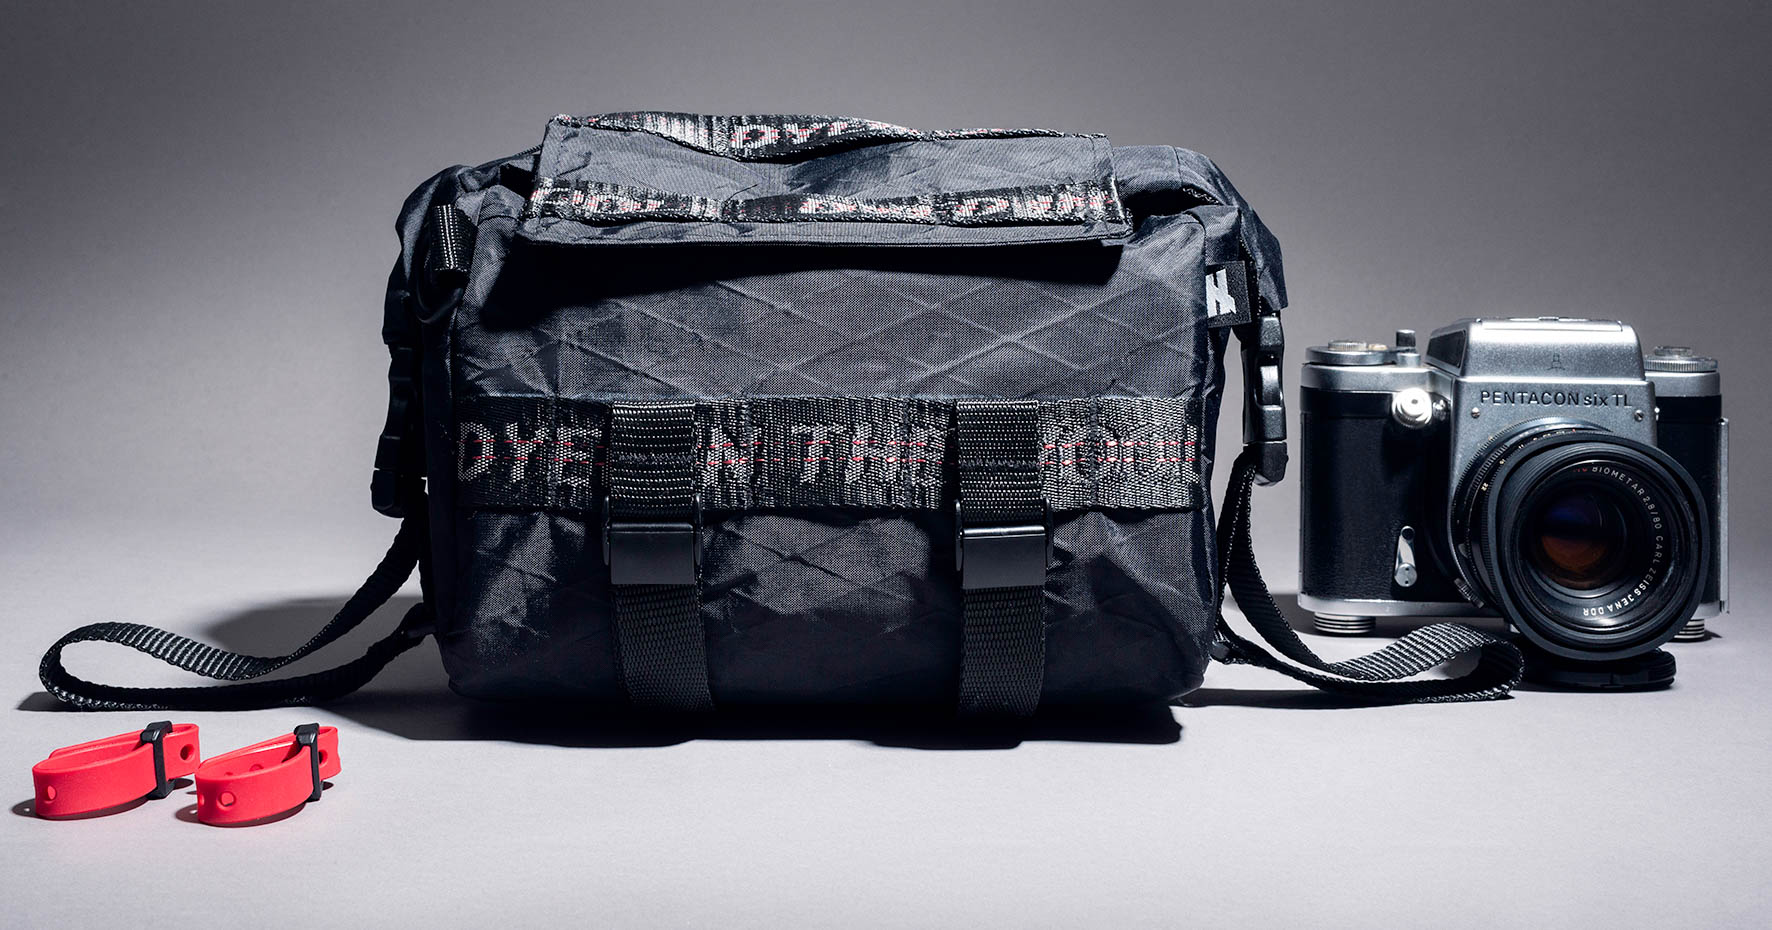
You can choose any camera case that you think will suffice your needs. For this demonstration, we will be using Crumpler Kashgar large-size bag. We chose it because of its larger space and almost zero weight. Also, the bottom is rigid, and the bag overall is well padded.
To make the bag sturdier, we installed a coroplast backing sheet on the backside. Let's check the process step by step.
- The first step is to choose a bag and place it on the cutting table.
- Now open the zipper of the bag and check the backside of its inner flap. Here you will find a stitch that will give you access to the backspace, which you can use a coroplast sheet for more sturdiness.
- What will be the size of the coroplast sheet that you need? For this step, use the foam available in the backspace of the bag as a template and cut the sheet exactly in the size of that foam.
- The next step is to use a KLICKfix system which helps accessories attach with bicycles. It consists of two plates (front and back plates) with holes to use the nuts and bolts mechanism. We will be placing the KLICKfix plate on the top side of the bag. Make sure to find the center and draw a vertical line or a mark to show the center towards the top side of the bag.
- After placing the plate, trace all its holes on the bag with a pencil so you can punch them accurately later. Use a rubber mallet to punch holes in the bag at marked locations.
- Next, insert the coroplast sheet in the backspace, trace circles on the sheet using holes in the fabric, and punch it. You can also retrace the holes on the sheet with the help of a back-plate before punching. Use a fray stopper on the holes you just punched on the fiber.
- When the fray stopper dries, insert the foam and coroplast sheet in the backspace and stitch the cavity back as before.
- The last step is bolting the plates and mounting hardware. Place the backplate between the foam and coroplast sheet so the form provides padding between the backplate and your gear.
You are all done! Now you can fill up your favorite camera gears and go on a bike ride.
How to get packed with a handlebar bag
Now let's check the best way to get packed with your camera gear.
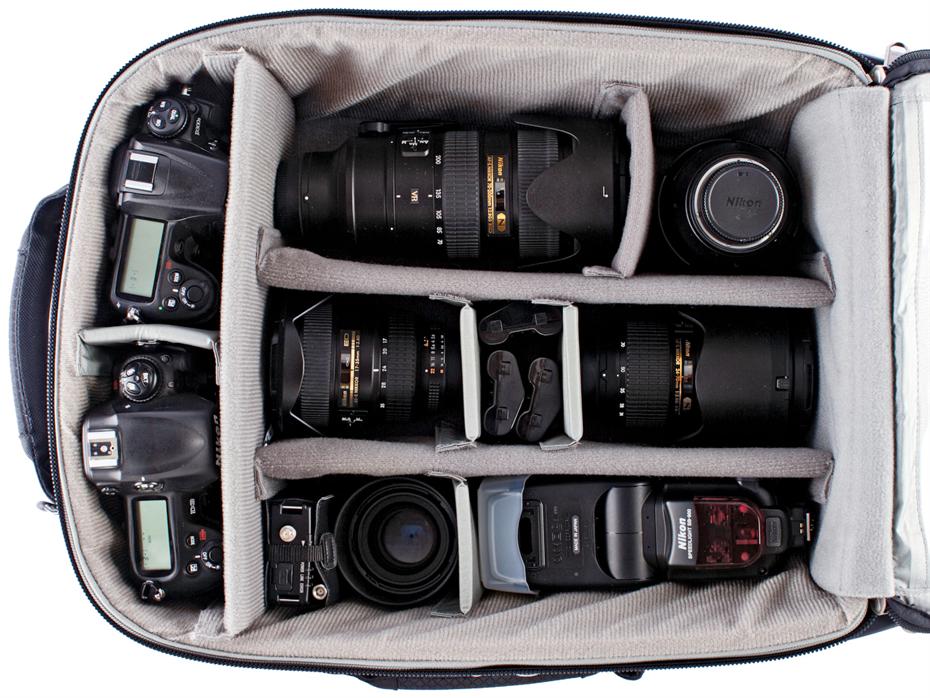
- Put your most important lens in a small pouch and keep it at the top side of the bag, so you can access it easily while riding on your bike.
- Put all other lenses or flash units in their cases. Use pouches for extra protection against dust if possible. Keep them inside the main compartment for proper organization.
- You can also place some food or other essential gear in this accessible space for quick access during long trips.
- Make sure nothing falls off when you're on bumpy roads! Now, what are you waiting for? Go ahead and hit that road! Cheers!

Final recommendation
It is very convenient for you to store your gears in the camera bag and carry it on your bicycle at the same time.
After you are all done with your bike tour, it's time to show off your handiwork. Make sure to take some snaps of your cool bag arrangement and post them on social media!
You can now enjoy biking with all the essentials without worrying about scratches or any other injuries to your expensive equipment.