The majority of duffel bags available today come equipped with wheels. However, if you happen to possess a wheel-less one, we have an excellent suggestion for you.
You need not invest in a new bag because our step-by-step guide outlines a relatively straightforward method for attaching removable wheels to nearly any bag already in your possession.
What is the difference between a weekender and a duffle bag?
Since these bags come in a variety of sizes and forms, they are the perfect option for weekend travels when you want both flair and utility.
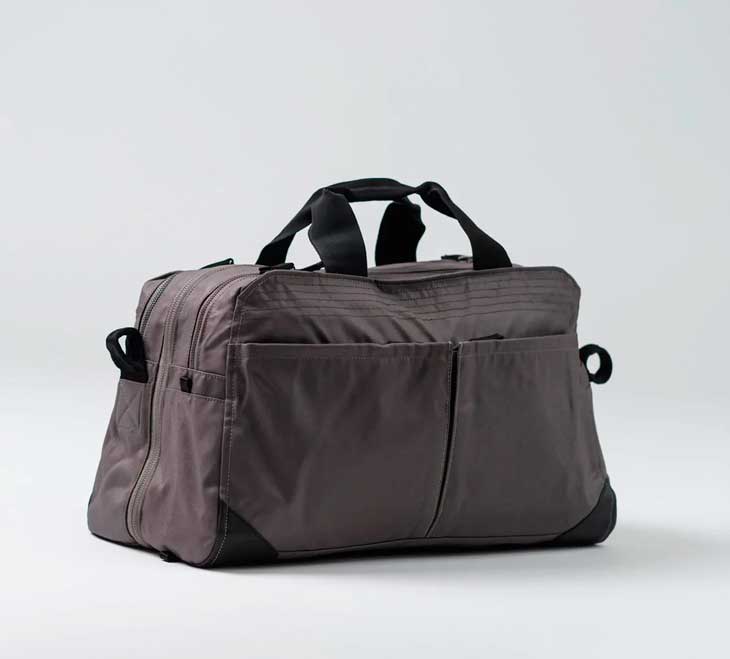
A weekender bag essentially represents a larger version of a duffel or travel bag, featuring extended straps that can be worn cross-body for added convenience.
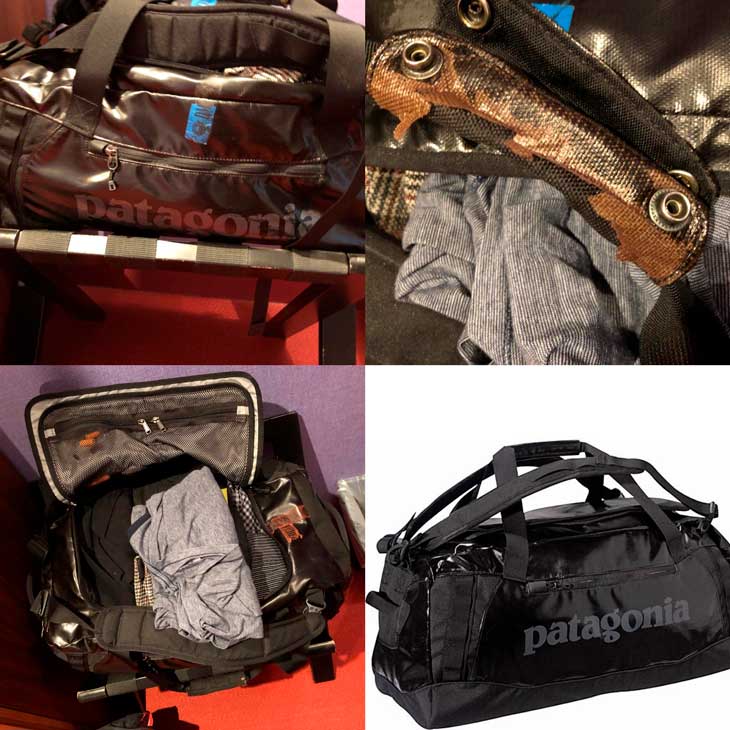
Why a duffel bag is the best way to pack for vacation
A duffel bag can be your best option if you are looking for a travel bag that offers more adaptability than a typical suitcase. A rolling duffel bag can be exactly what you need if your top goal while preparing for your trip is ease.
What do we need?
Materials:
- Thick Velcro, approximately 3 inches wide, available from my existing supplies.
- 2 wheels, purchased for $3.49 each at the hardware store.
- Metal rod, compatible with the wheels. Opted for a lightweight hollow aluminum tube suitable for easy cutting with a hacksaw, costing $6.99.
- 4 shaft collars. Ensured they fit snugly around the metal rod to secure the wheels, priced at $3.23 each.
- Thread.
- A cooperative duffel bag. Make sure it is sufficiently spacious so you wouldn't need to awkwardly bend over when pulling it on its new wheels. It should also have a handle on one end, or you can sew one on.
Tools:
How to add wheels to a duffel
Step 1:Sew on the Velcro
Usually, my bag has a larger pouch for shoes on one end and a smaller pocket which, incidentally, may be used to hold toiletries. Since the shoe side is typically seen as a more sturdy and densely packed area, you might wish to put the wheels there.
Now, turn the bag over. Cut two Velcro strips, each about 6 inches long. Attach the soft side of the Velcro to the bag's bottom by peeling off the backing.
Place the bag on the sewing machine with care and start zigzagging along the Velcro strip. While sewing, move both forward and backward. Also, to avoid breakage, be sure to use a needle designed for denim or leather. Sew both strips securely.
Then, attach the rough side of the Velcro to the outer edge, just stitching it in place. Be sure to secure it by stitching back and forth several times. Repeat this process for both strips.
To make it easier to grab and pull out the Velcro strip on the rough side, fold a small portion of it under, about a quarter of an inch, and sew it down.
Step 2: Assemble the wheels
Position a metal rod along the bag's base and mark the point where you want the second wheel to terminate, with the first wheel situated at the rod's end. For optimal functionality, it is preferable for the wheels to extend from the bag's sides rather than underneath it; otherwise, the duffel bag will tend to scrape against the ground.
Arrange the shaft and wheel bushings on the rod in the following sequence: collar, wheel, collar, collar, wheel, collar. To install a shaft collar onto the shaft, you may need to loosen a small screw located on the collar's side.
Evaluate the positioning of the second wheel, then carefully tighten the small screws on the shaft bushings to secure everything in place.
Be cautious not to overtighten, as this could warp the shaft and make it more challenging to adjust later on. It's advisable to leave a slight gap, roughly 1/16 inch, between the wheel rings to ensure smooth rolling.
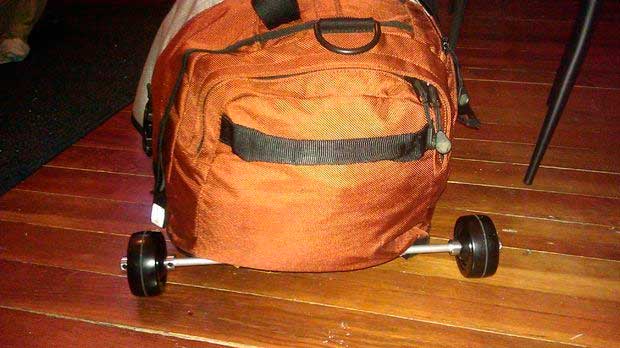
Step 3: Attach the wheels to the bag
Affix the wheels to the bag by unfastening the Velcro, sliding the rod against the securely sewn end, and then resealing the Velcro.
Unless you happened to acquire a perfectly sized metal rod, there may be some excess rod extending beyond one of the wheels.
Now, take your bag for a trial spin to confirm that the wheels are properly positioned. If not, make necessary adjustments and retest.
Once you believe you have achieved the desired positioning, employ your hacksaw to trim off the surplus portion of the rod.
To keep the rod securely in place, slide two of those thick rubber bands, often used to bundle asparagus, onto the rod.
Step 4: Now you have got a rolling duffel bag!
Flip the bag over and give it a test spin. For instance, load your bag with sheets and towels. To enhance your travel experience, you might discover that rolling your bag is more convenient when it is positioned alongside your body rather than pulled behind you.
The beauty of this setup is that you can swiftly and effortlessly detach the wheels and stow them in your bag when they are not needed.
The entire process for this nifty project should take approximately an hour and a half. Here are some additional tips to enhance your bag's functionality:
- Utilize the pocket on the wheel side to store something firm, like shoes.
- Extend the handle by folding a bandana, tying it into a loop, and then threading it through the bag's handle.
Are rolling duffel bags good for traveling?
A wheeled carry-on duffel provides a more compact storage option compared to a traditional suitcase, while also offering the advantage of avoiding the hassle and cost associated with checking in your baggage.
These wheeled duffels are an ideal choice for travelers who need to accommodate bulky or unusually shaped items, whether it's for adventurous journeys, family vacations, or road trips.